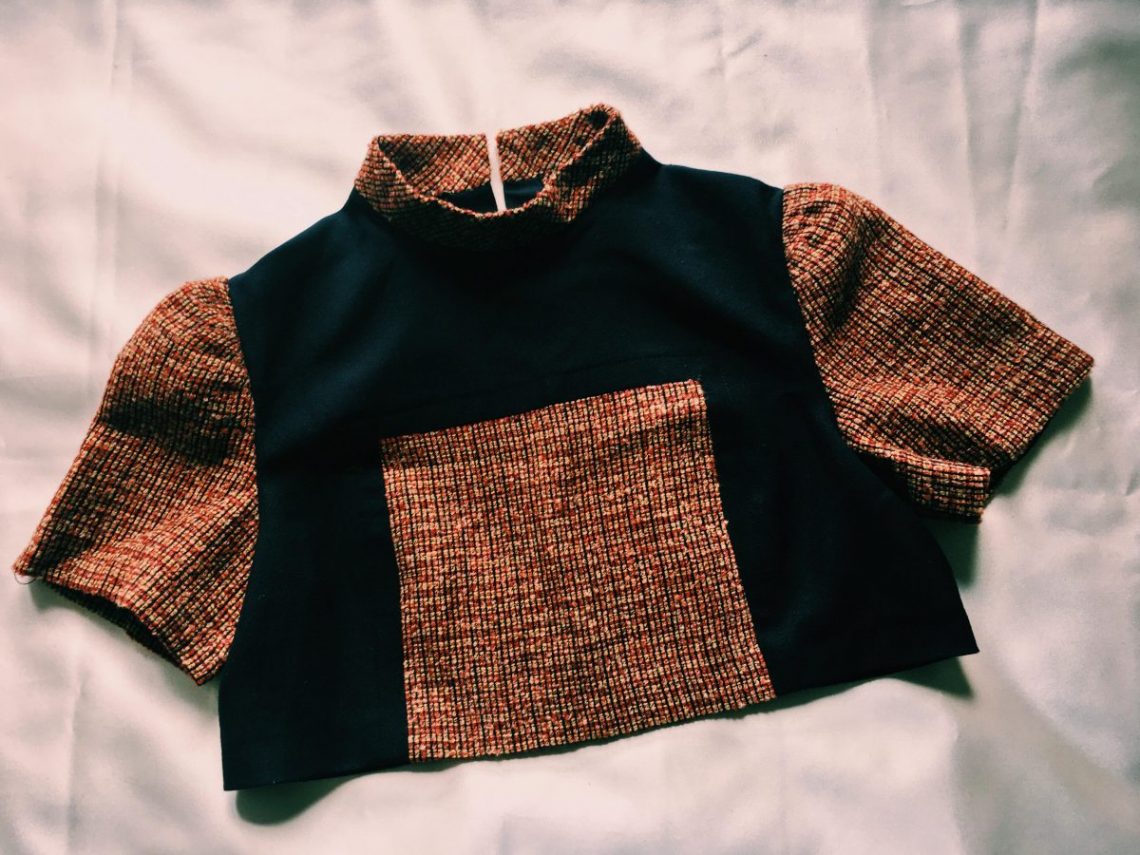
INLAID TOP
Thanks to the tailor module of the FCIL training, I learned a technique of reinforcement of inlay angle on a study of top of dress.
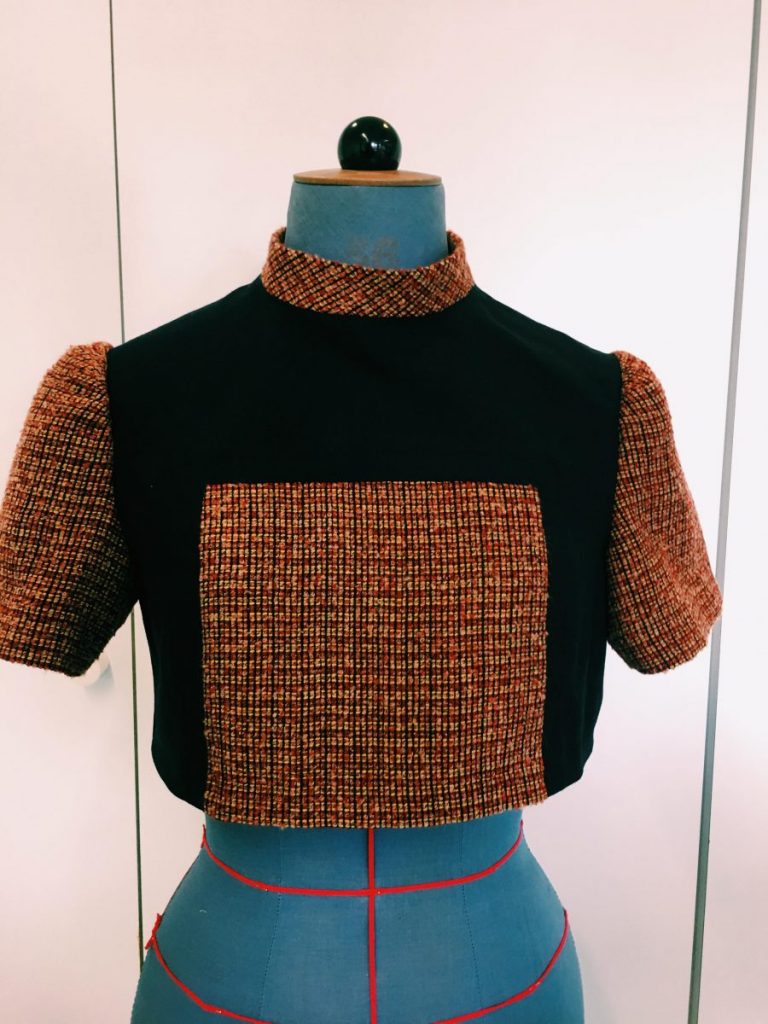
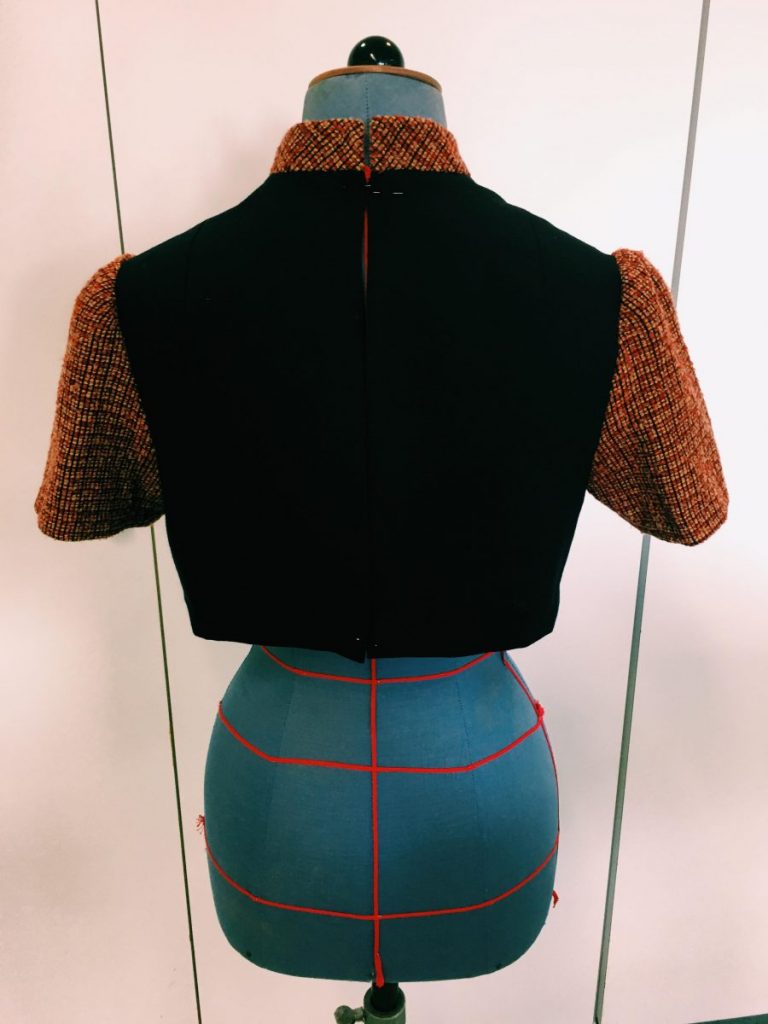
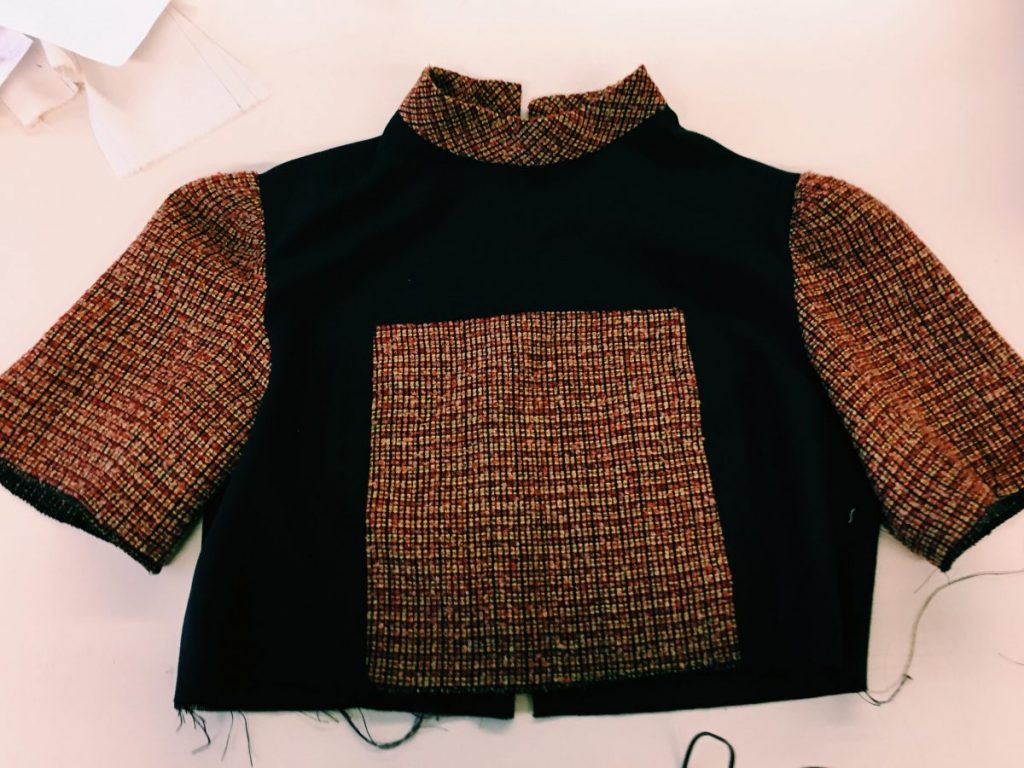
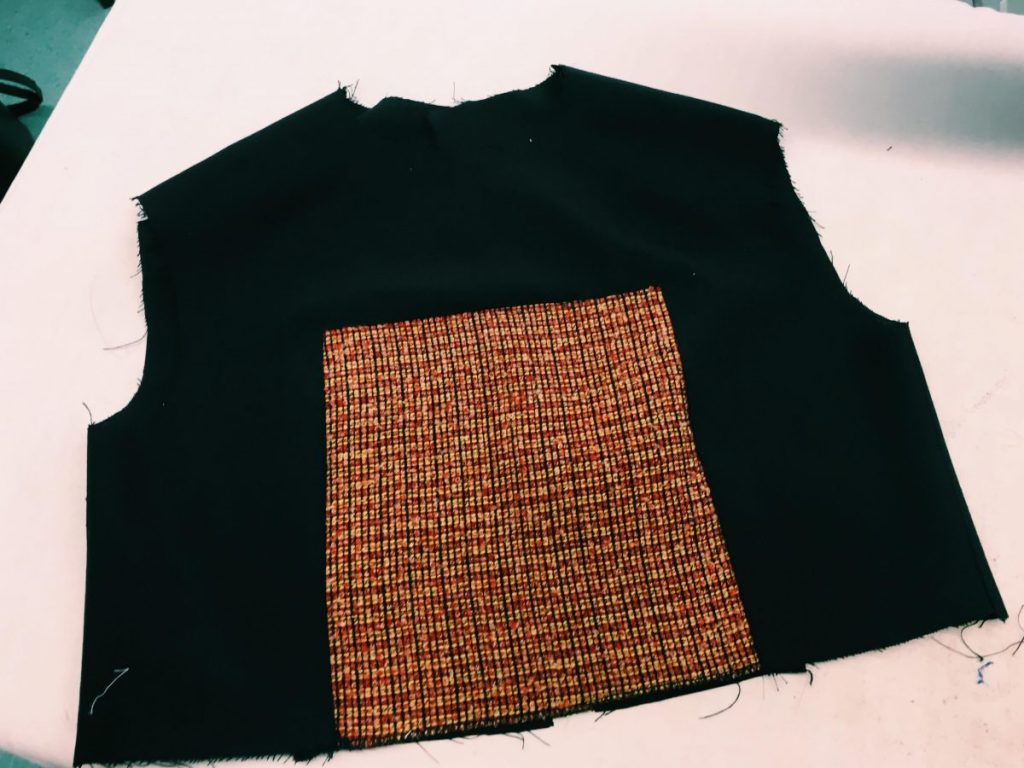
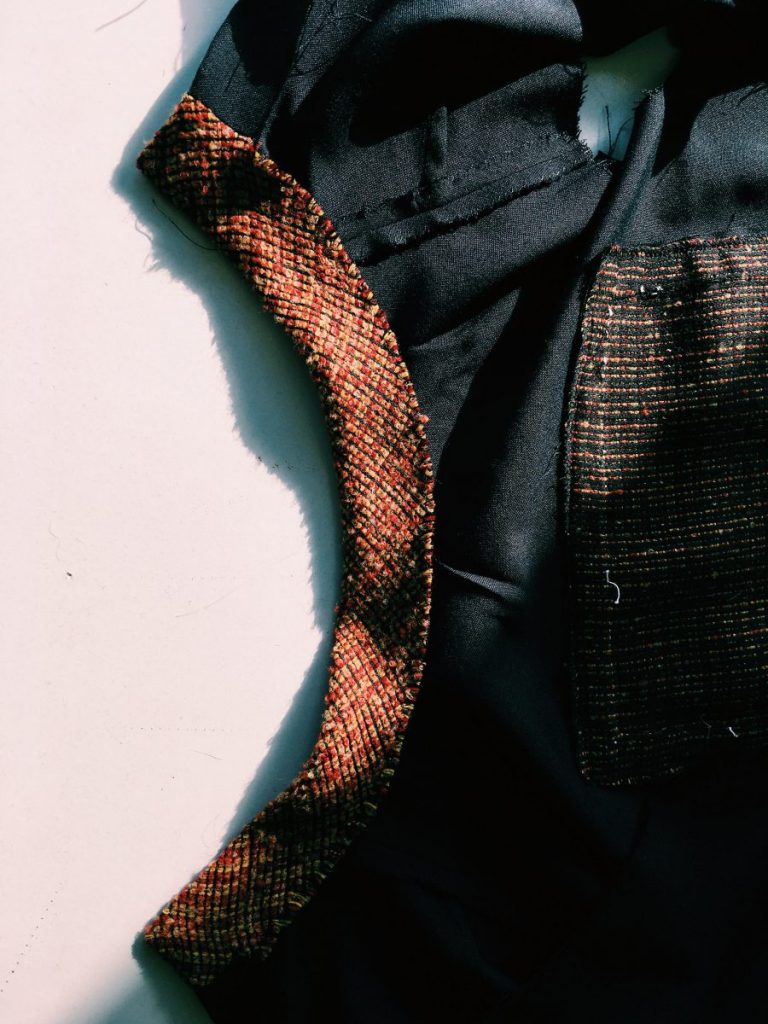
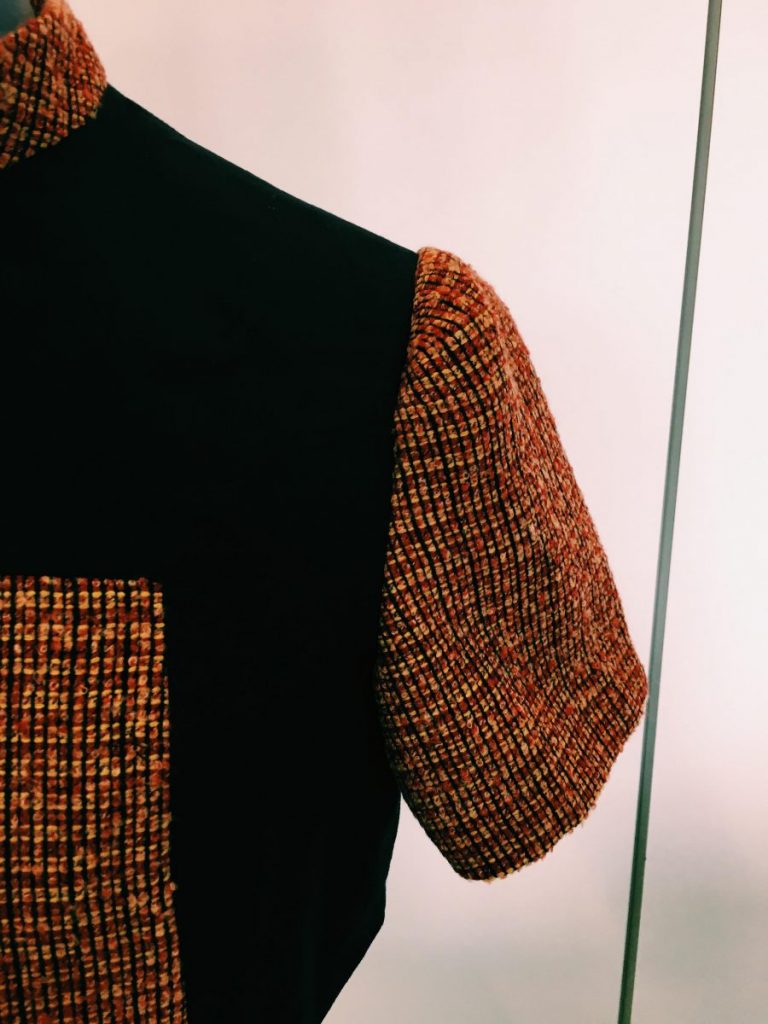
Classic woolen dress top, closed at the back with a zipper. Straight collar at an angle, covered and closed in the middle back. Sleeves fitted, short hand hems. Cut inlaid at right angles.
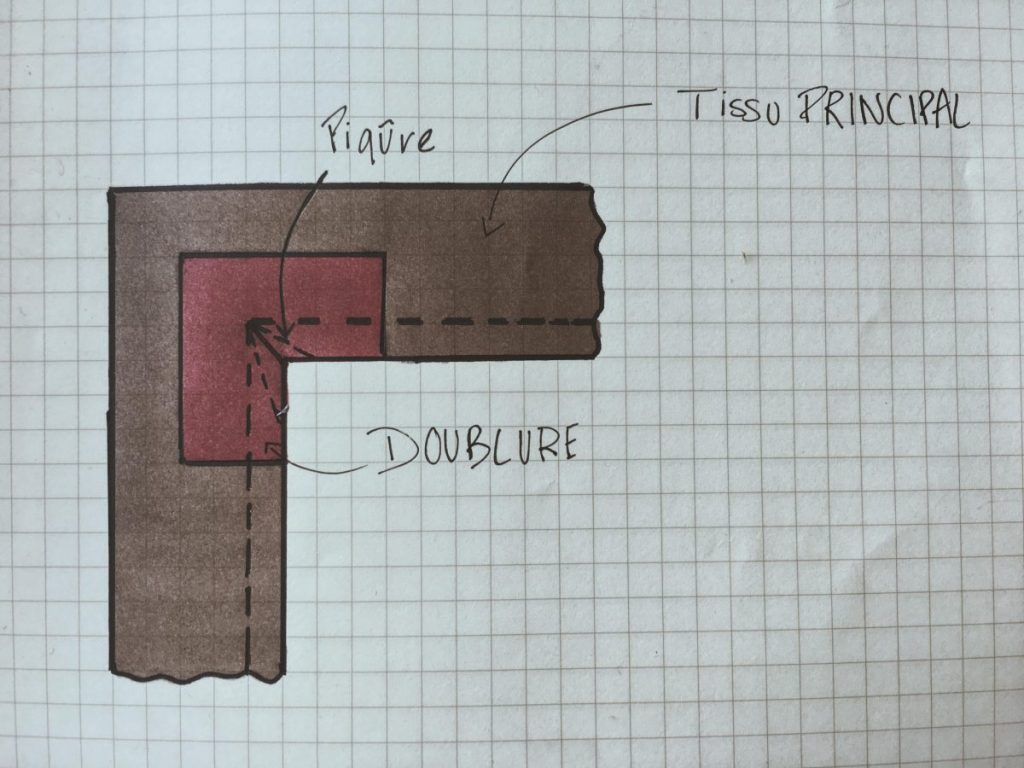
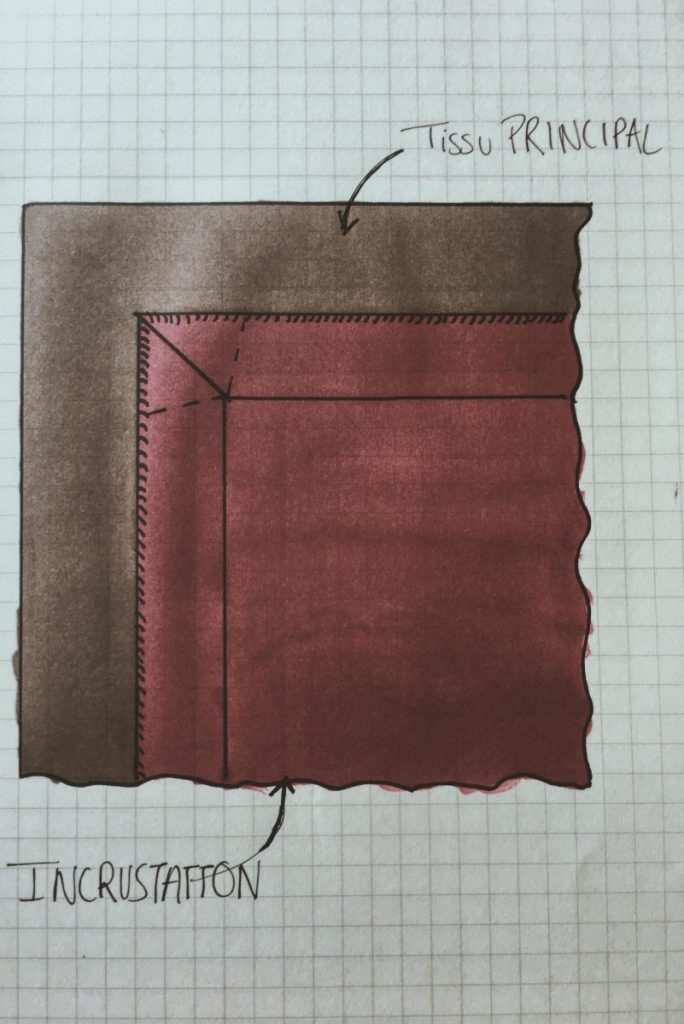
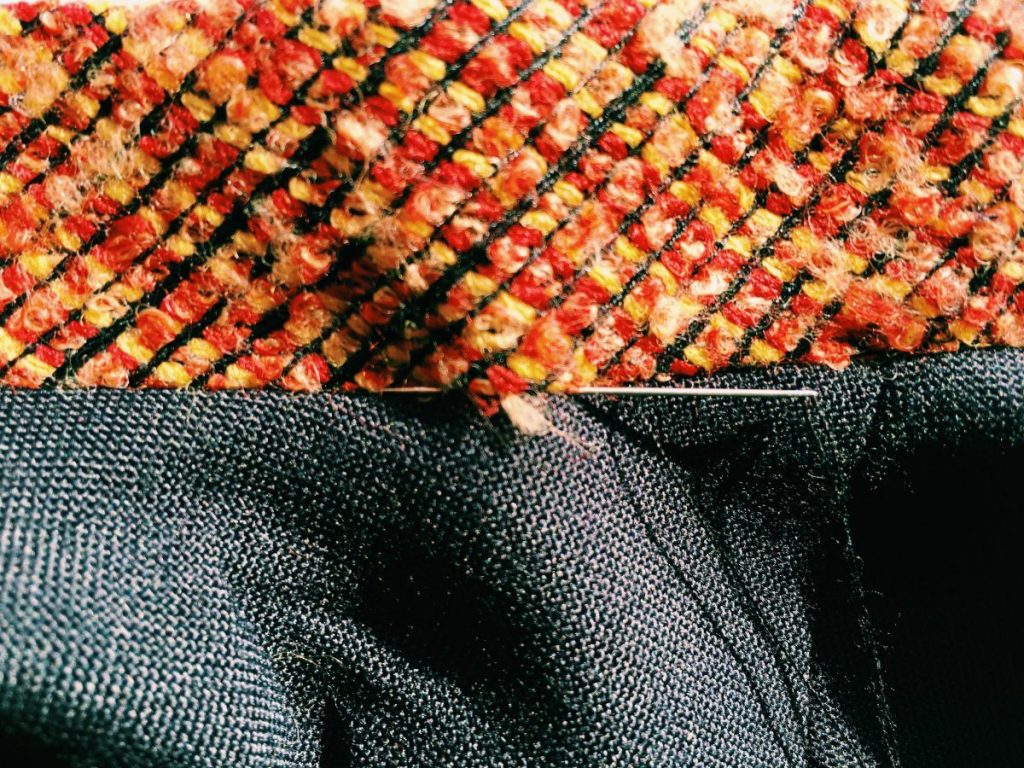
1. INLAY:
-Pass a tailor thread on all angles.
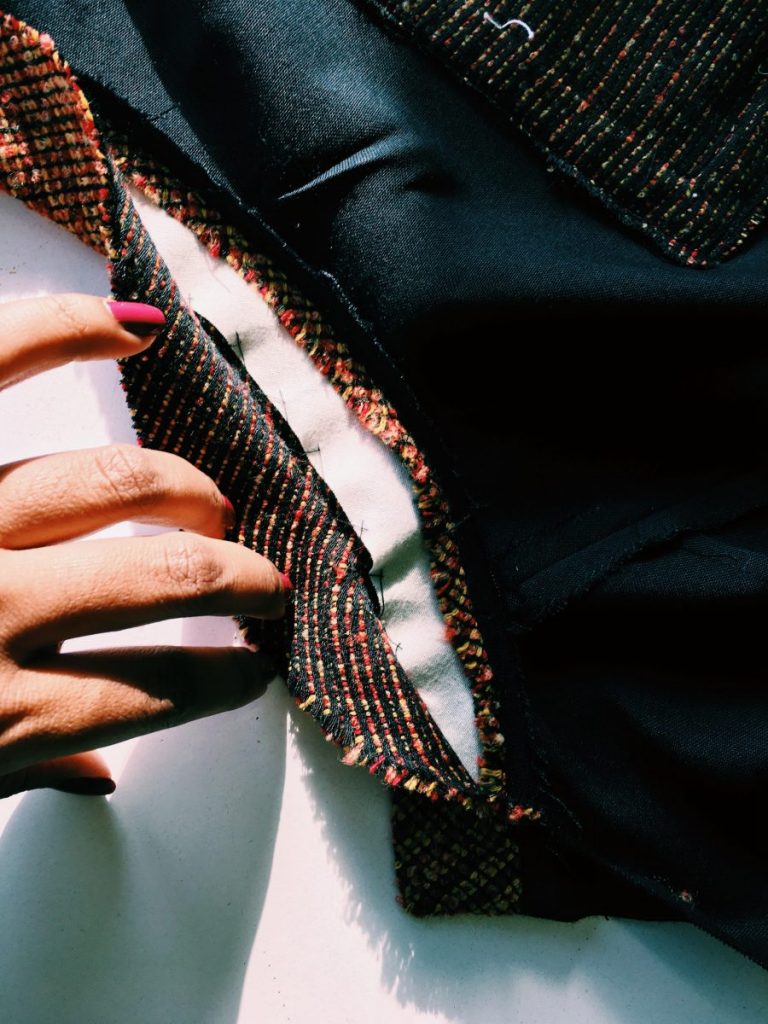
-Position a lining rectangle on the front in the corner.
– Mark the middle and stitch the triangle in the shape of a triangle.
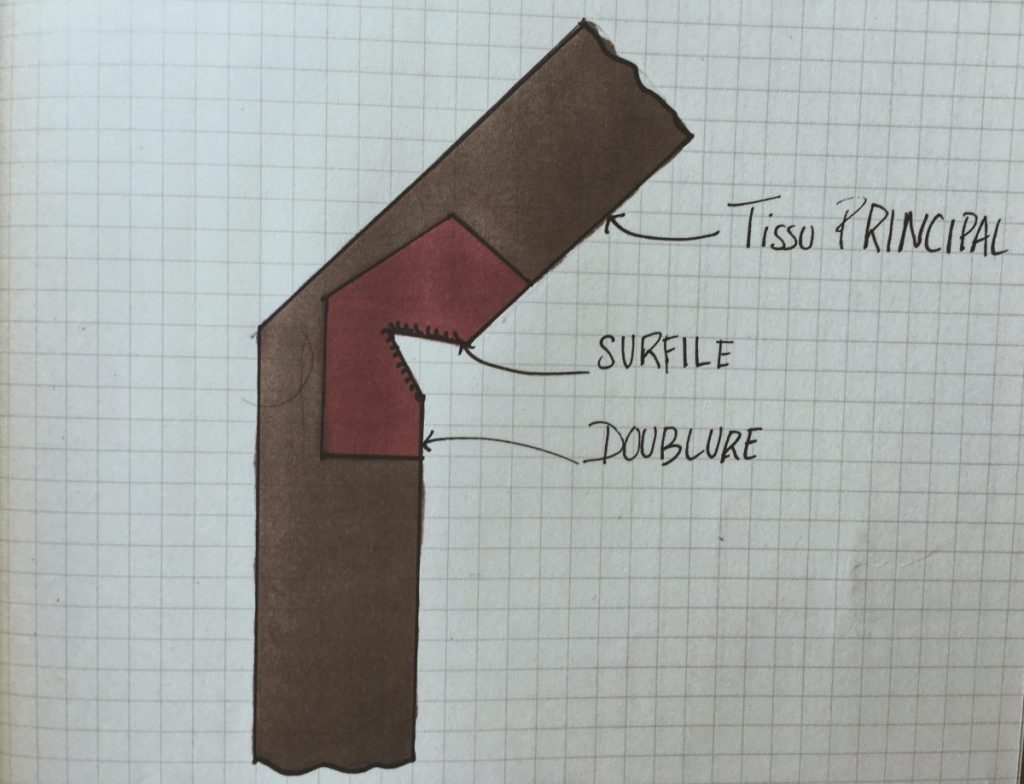
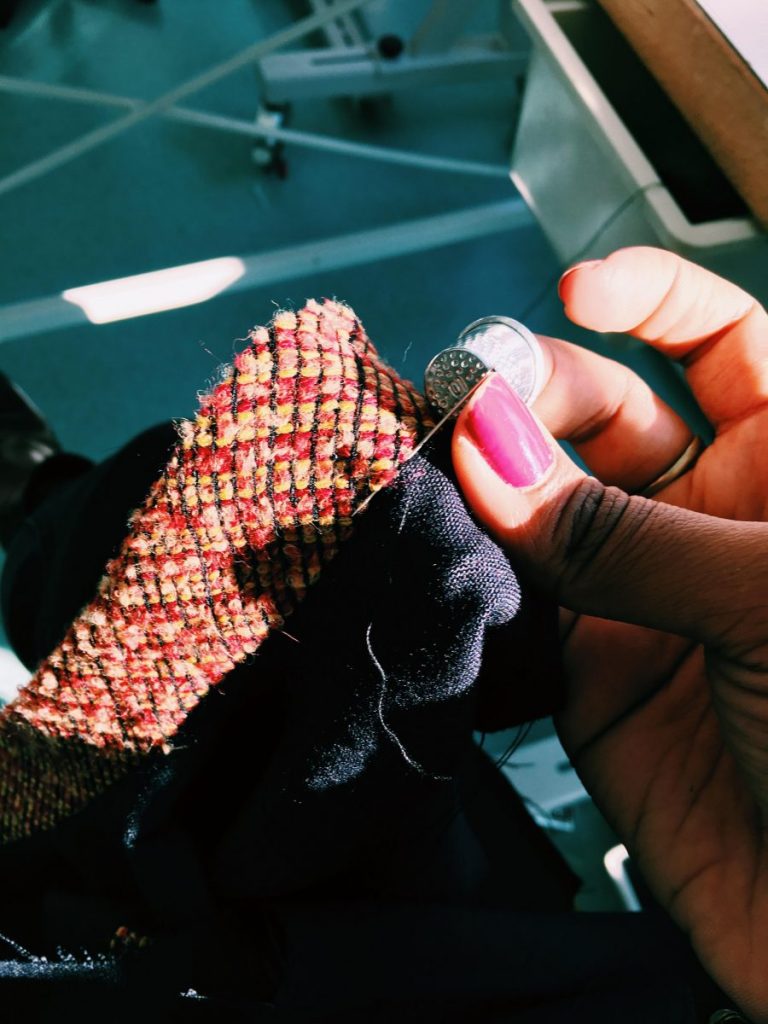
-overlock by hand.
-Cut the excess of the lining.
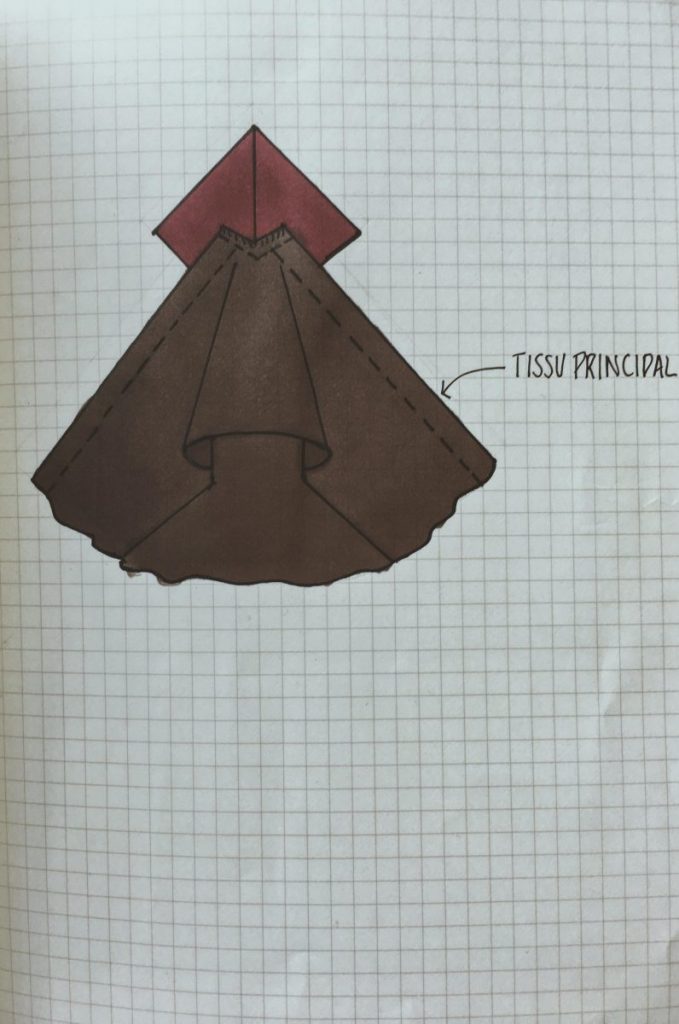
-Place the inlay on the front stitched at 1.5 cm turn over and iron.
– Topstitch the cut to 1.5 cm.

1 2 
4 
5 
6


2. Make the clamps on the back.
3. Assembly the shoulders and sides to 1 cm.
4. Collar:
– Sew the collar in half and iron it cut a piece of canvas the width of half the collar.
-Place the canvas on one side of the collar with a handmade center point.
-Position the collar on the garment by preparing the back coverings.
-Open the seam with an iron (so that there is no thickness).
– Make a point on the groove by hand to hold the collar.
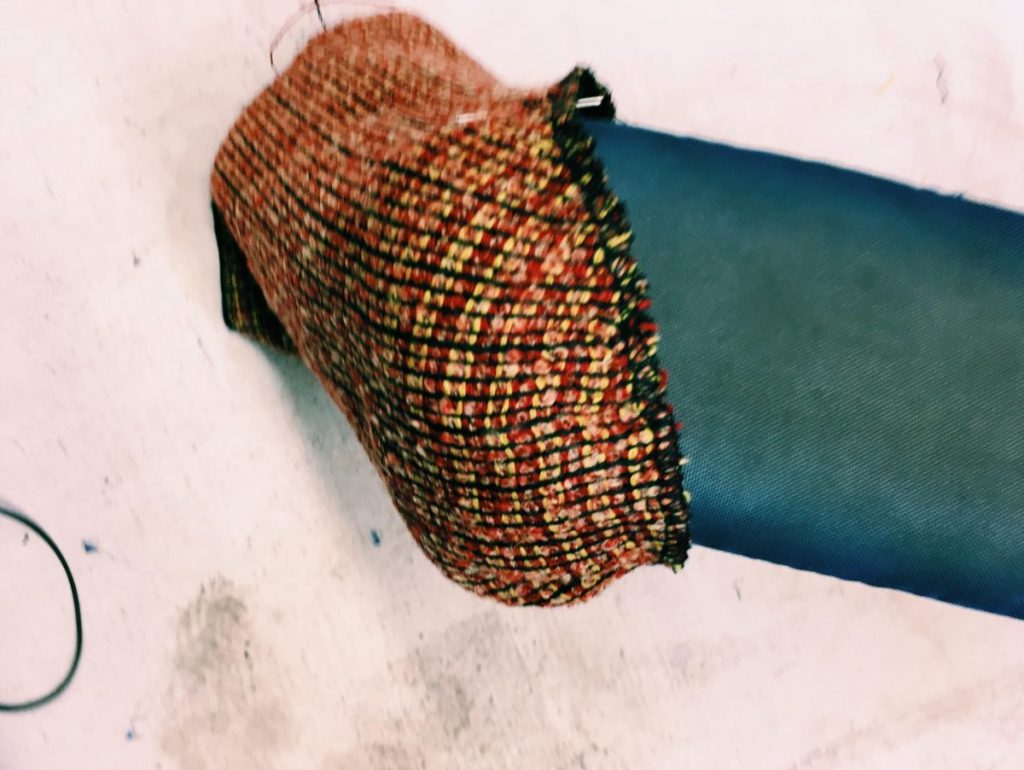
5. Sleeve:
– Make gathers by passing 2 threads of gathers by hand at 7 mm and 10 mm on the sleeve head.
-Secure the gathers with pins and check with the armhole.
– Iron again to form the dish and erase the gathers.
-Assembly the sleeves to the armholes.
– Iron.
– Make a hand hem invisible stitch.

6. Overlock the bottom of the top with the back facing.
7. Make the bottom hem.